Creating a flag mockup is fairly straight-forward if you follow this process, although it does require some Photoshop knowledge. Before I begin, here is the final result of this flag mockup tutorial.

1. Look for a Creative Commons image
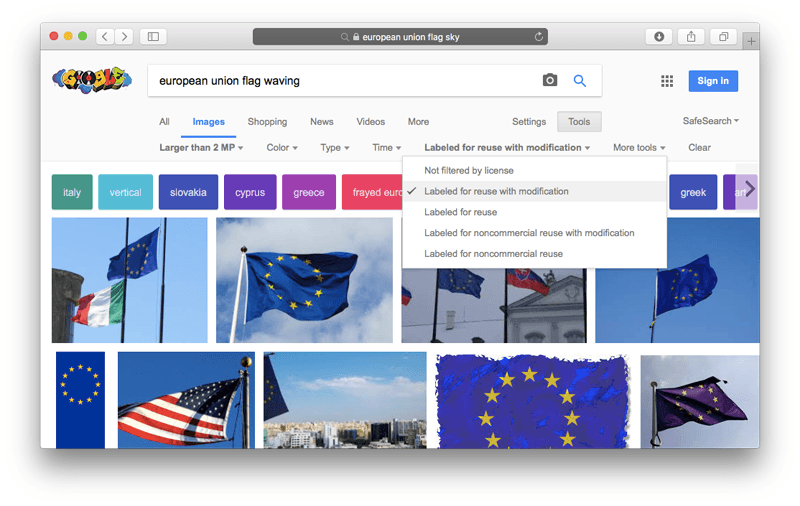
Before you can start the Photoshop work you need to look for a picture of a flag. The easiest way to find a free image for this purpose is to head on to Google and search for flag pictures that are “Labeled for reuse with modification”.
2. Choose a flag picture with a single main color
To make your life easier later, make sure you choose an flag image which has a predominant color. For this tutorial I chose this Creative Commons image of the European Union flag by MPD01605:

3. Import the flag image in Photoshop and get to work
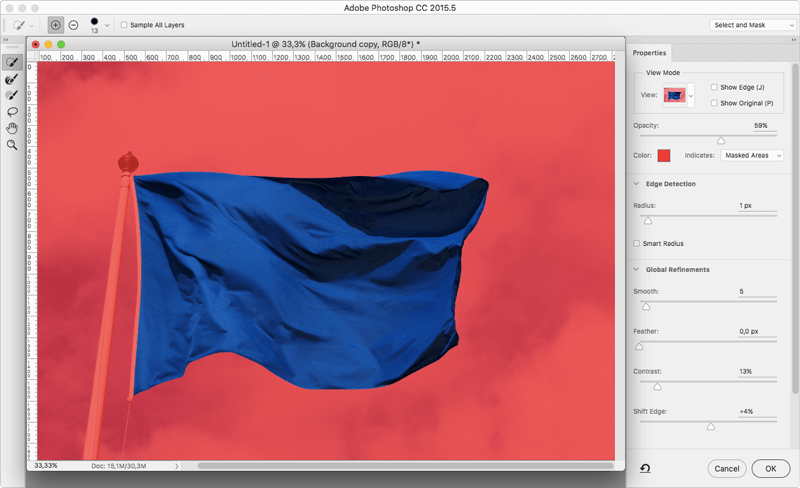
First we need to get rid of the stars so we have a completely blue flag. You can do this in multiple ways. I chose to use the Clone Stamp Tool. As you see, it worked out OK.

Next comes the most time-consuming part. Selecting the flag. But in our situation this won’t be that hard either. Again, this step can be done in various ways. I used the Magic Wand Tool and “Select and Mask…” to refine the selection.

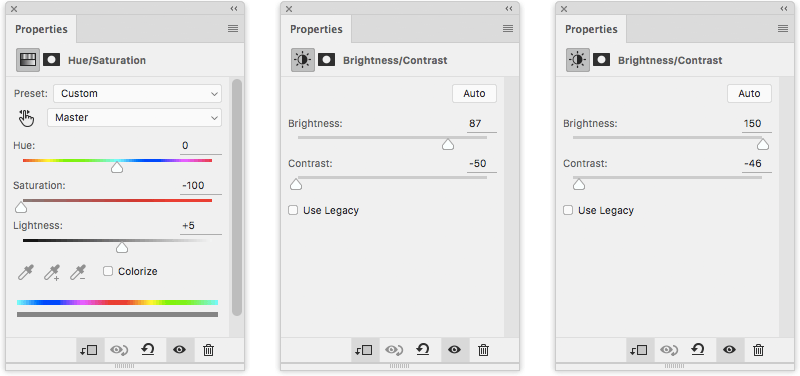
Now that we turned the selection into a mask, our following goal is to make the flag white. Because white is a neutral color, it will be easier to place logos and brand colors on it.
By using a combination of Hue/Saturation and Brightness/Contrast we reach our desired result.

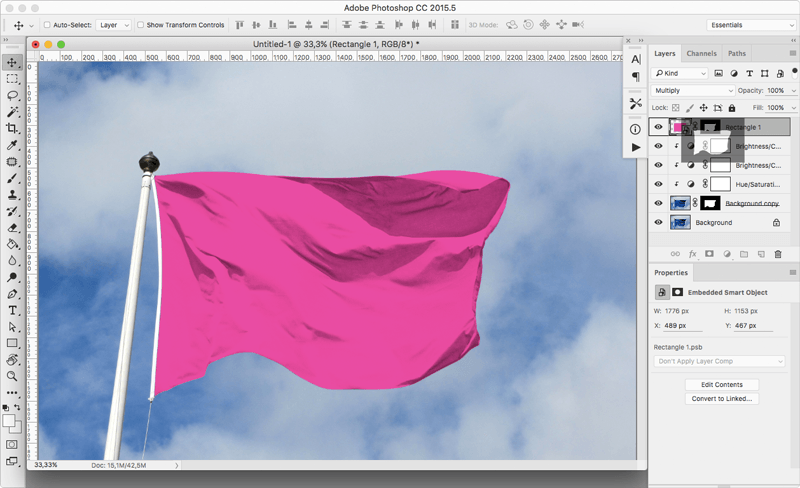
From here on it’s smooth sailing. Create a new fill layer or a shape, convert it to a Smart Object and choose Multiply as blend mode. After that, apply the same mask we created earlier by copying it with Alt + drag.
This part is optional. To make it look a bit more realistic you can apply a Displacement Map.
- Duplicate the masked flag layer.
- Turn it into a Smart Object.
- Open the newly created Smart Object by double clicking it.
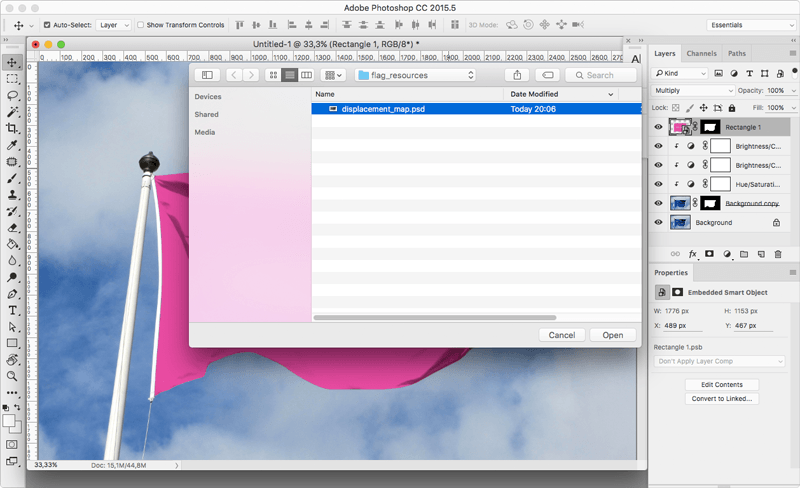
- “Desaturate” it: go to Image -> Adjustments -> Desaturate.
- Save it as a .psd file. Not as a “Large Document Format”.

Switch back to the file you were working on. Select the Smart Object which will contain the text or logo you want to apply on the flag. Go to Filter -> Distort -> Displace…
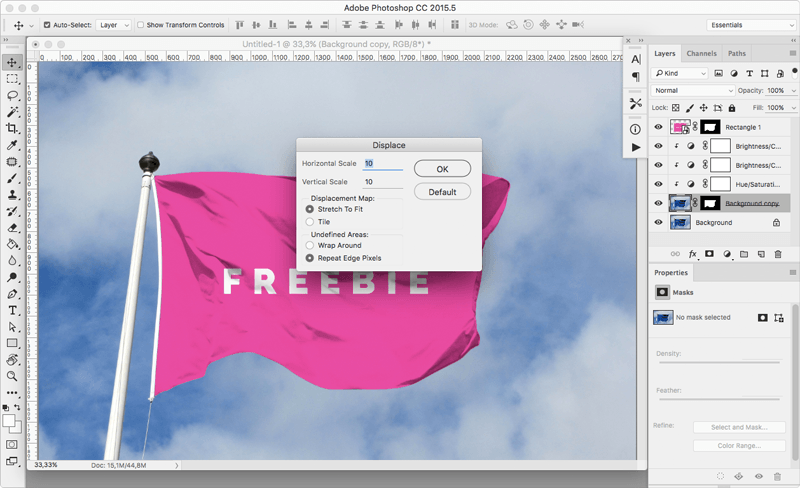
Click OK and choose the displacement map file you created earlier.
And that’s it.
P.S. Don’t forget to download the flag mockup.